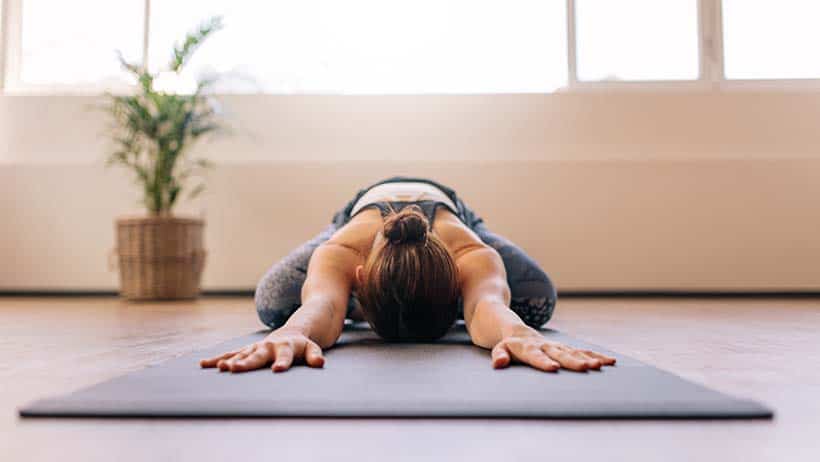
Every yoga pose, known in Sanskrit as an “asana,” has its own way of bringing the body and mind into greater harmony. World-renowned yoga teacher B.K.S. Iyengar poetically compares the body to a bow and each asana to the various arrows with which individuals target the ultimate aim of yoga practice — the soul.
This guide offers an in-depth look at intense forward stretch pose (uttanasana).
About the Pose
उत्तनासन
Uttanasana
This pose is also known simply as “Standing Forward Bend” in English.
Let your mind and body slow down with this regenerating pose. Also recognized as “padahastasana” or “hastapadasana,” uttanasana will provide the stretch your back needs. The “ut” in “uttanasana” translates to a word you saw when you clicked on this article — “intense.” Maybe you clicked on it with determination or apprehension, but a brave yogi doesn’t let any pose intimidate them. The more you practice each asana, the more you deepen the personal feeling of your body and how much potential it has. Your body is yours to serve. Awaken your muscles and ease your mind with this valuable pose.
Level: Advanced (However, you can adjust every pose for different levels of practice.)
Key Benefits:
- Slows the heartbeat
- Replenishes mental and physical energy
- Calms a stomachache
- Stretches the calves and hamstrings
- Massages the liver, spleen, and kidneys
- Lessens abdominal and back pain
Specific Cautions:
- Individuals suffering from a spinal disk disorder can achieve the benefits of the pose by stopping at Step Three.
- People prone to acidity or dizziness should practice this pose with their legs further apart than typically instructed.
Related Poses:
- Downward-Facing Dog Pose (Adho Mukha Svanasana): This intermediate pose slows the heartbeat, stretches the shoulder blades, and tones the legs.
- Extended Side Angle Pose (Utthita Parsvakonasana): This beginner pose improves lung function, tones the heart muscles, and aids digestion.
- Intense Side Stretch Pose (Parsvottanasana): This intermediate pose calms the mind, strengthens the abdominal organs, and helps to relieve arthritis of various origins.
Recommended: Browse more of our guides on the art and practice of yoga to harmonize your body, mind, and soul.
Trying It Out
Remember to keep your breathing full and steady as you follow these step-by-step instructions to try this pose out for yourself:
Step One
Starting in Start in mountain pose (tadasana). Tighten your kneecaps and lift them upwards. Stretch your arms up toward the sky with your palms facing forward so you can extend your whole body.
Step Two
Bend your body forward so your torso is parallel to the floor. Let your arms stretch toward the floor. Keep your thighs stretched so your knees remain locked.
Step Three
Lean forward to the ground so you can press your palms flat on the floor. If that’s not possible, use your fingertips and stretch your toes up from the floor. Move your ankles apart just a bit to give your lower back, buttocks, and legs some release.
Step Four
If you’re able, move your hands back so they touch the sides of your feet. Put the pressure on your fingers and thumbs rather than your whole hand. Press the front of your feet down onto the floor and stretch your torso forward. Look at a point a little ahead of you on the floor.
Step Five
This is the “intense” part. Move your torso farther down until your chin touches both of your kneecaps. Stretch your arms away from your shoulders as you keep your fingers pressed against the floor. Beginners can grab their legs as far down as possible, such as the tops of their ankles, and stretch. Avoid bending or straining your neck toward your legs. Breathe in this pose for 30 to 60 seconds.
Refining the Pose
Achieving maximum benefit from your yoga practice requires you to pay close attention to your physical alignment. To ensure you maintain proper alignment, ask yourself these questions:
- In the final pose, is your spine concave?
- Have you distributed your weight equally?
- Are your feet together?
- Are your knees straight?
- Are your hips pushed forward instead of drooping backward?
- Is your neck perpendicular to the floor and not straining toward your legs?
Variations:
- Hands To Feet Pose (Pada Hastasana): This variation involves placing your palms against the bottoms of your feet. Widen your elbows to achieve this pose.
- Hands on Heels Pose: With your face pressed to your knees, cup your hands and lift your heels. Place the backs of your feet in your cupped hands so you’re holding the backs of your heels.
- Hands Holding Elbows: With your face pressed to your knees, move your hands up to hold the opposite elbows. so your arms dangle below the backs of your knees.
- Straight Arms: With your face pressed to your knees, extend your arms out in front of you with your shoulders rotated and your fingers interlocked.